
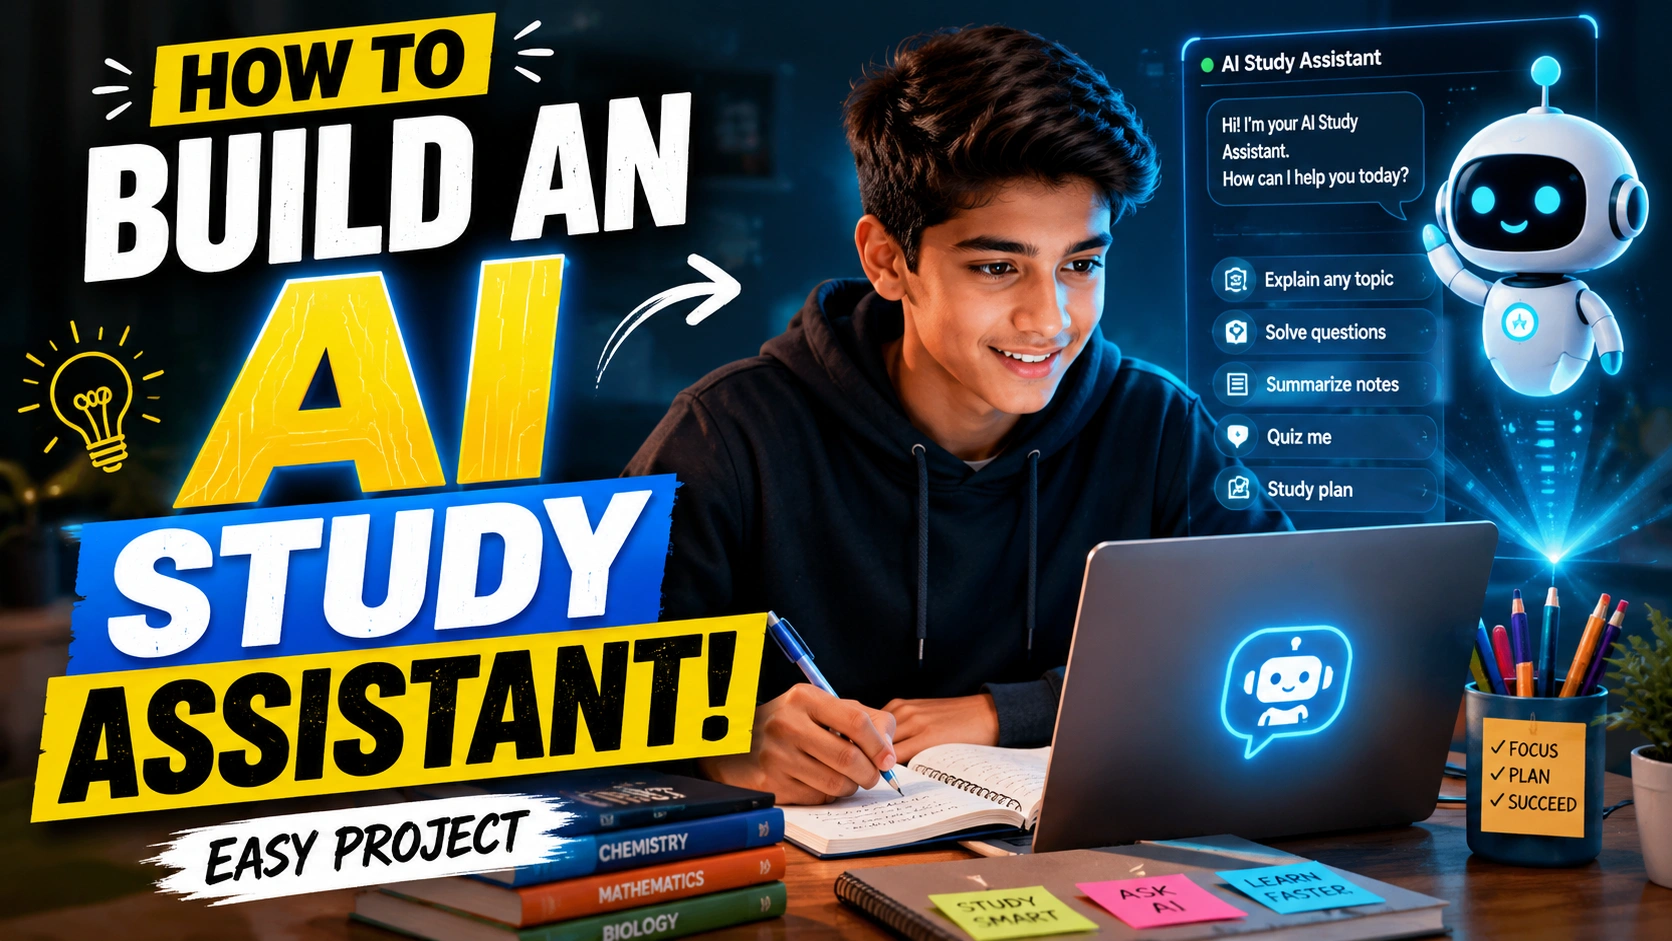
If you are a student like me, you probably know how annoying it can be when you are studying and suddenly get stuck on one small topic. You search on Google, watch a video, check your notes, and sometimes still do not understand it. That is why I think building an ai study assistant project is a really cool idea.
An AI study assistant is basically a digital study buddy. It can explain difficult topics, make quizzes, summarize notes, create flashcards, and even help you make a study plan. The best part is that you can build your own version instead of only using someone else’s app.
I am going to explain this project in simple English, like how I would explain it to another student.
“AI should help you learn, not do all the learning for you.”
That is probably the most important rule for this project.
What Is an AI Study Assistant Project?
An ai study assistant project is an application that uses artificial intelligence to help students study.
For example, imagine you are learning about photosynthesis. You open your study assistant and type:
“Explain photosynthesis in very simple words.”
The AI could explain it like this:
“Plants use sunlight, water and carbon dioxide to make their food. Oxygen is released during the process.”
You could then ask it:
“Give me 5 questions about photosynthesis.”
The assistant could create questions for you to answer.
This makes studying more interactive instead of just reading the same chapter again and again.
Modern AI study systems can also work with notes, PDFs, images, quizzes and other study materials. Some projects use uploaded documents so that the assistant can answer questions based on the student’s own material.
Why Should You Build an AI Study Assistant?
There are many reasons why this is a great project for students.
First, it is actually useful. You are not just making a random calculator or another basic website. You are making something that you could use while studying.
Second, you can learn many things while building it. You can learn about AI, programming, websites, databases, prompts and user interfaces.
Third, you can keep improving it.
You could start with a simple chatbot and later add:
- AI explanations
- Quiz generation
- Flashcards
- Notes
- PDF reading
- Study plans
- Progress tracking
- Voice input
- Image questions
- Dark mode
- Login system
- Saved conversations
So the project can start small and become a much bigger application.
What Can Our AI Study Assistant Do?
Before starting, I think we should decide what our project will actually do.
A simple ai study assistant project could have these main features:
| Feature | What It Does |
|---|---|
| AI Chat | Lets students ask study questions |
| Explain Topic | Explains difficult topics in simple words |
| Quiz Generator | Creates questions for practice |
| Summary | Turns long notes into shorter notes |
| Flashcards | Creates question-and-answer cards |
| Study Planner | Helps make a study schedule |
| Notes | Saves important study information |
| Progress | Shows completed quizzes and topics |
| PDF Support | Lets students study from uploaded material |
| Dark Mode | Makes the app easier to use at night |
You do not need to build everything on the first day. Start with the easiest version and add features later.
Step 1: Decide Your Project Idea
The first thing I would do is write down exactly what I want my assistant to do.
For example:
“My AI Study Assistant will help students understand school topics, summarize notes and practice with quizzes.”
This one sentence gives the project a clear goal.
Do not start by trying to make a super advanced AI like the huge companies. That can become confusing very quickly.
Start with something simple.
A good first version could have only three buttons:
Ask AI → Summarize → Quiz Me
After that works, you can add more.
A narrow project is also easier to test because you know exactly what the assistant is supposed to do.
Step 2: Choose the Technology
Now we need to choose what we are going to use to build the project.
If you are a beginner, I recommend keeping the technology simple.
For example:
| Part | Beginner Choice |
|---|---|
| Frontend | HTML, CSS and JavaScript |
| Backend | Python |
| AI | An AI model/API |
| Database | SQLite |
| Notes | SQLite or local storage |
| PDF Reading | Python PDF library |
| Hosting | Optional |
You could also build the whole first version as a simple website.
If you already know Python, Python is especially useful because there are many tools for working with AI.
Another option is to run a local AI model on your computer. Some student projects use local AI software such as Ollama so the model can run on the user’s own computer instead of sending every question to a cloud service.
Step 3: Design the Interface
Now comes one of my favorite parts: designing the website.
You do not need a crazy design.
Make it clean.
At the top, you could have:
AI Study Assistant
Then a small description:
“Your personal study buddy.”
Below that, put a large chat area.
At the bottom:
Type your question here…
And a Send button.
You can also add buttons like:
Explain Topic
Quiz Me
Summarize
Make Flashcards
A dark theme can also make the project look much cooler.
For example, you could use a dark background with blue or purple glowing buttons.
But remember: a good interface does not need hundreds of animations.
“Make it simple first. Make it cool later.”
Read More: What Is AI Automation? A Beginner Guide
Step 4: Connect the AI
This is the main part of the ai study assistant project.
Your website needs a way to communicate with an AI model.
The basic process looks like this:
Student asks a question → Your application receives it → AI processes it → AI sends an answer → Your application displays the answer.
For example, the student writes:
“Explain Newton’s third law.”
Your application sends the request to the AI.
The AI responds with an explanation.
Your website then shows the answer inside the chat box.
This is basically how the assistant starts feeling like a real tutor.
Step 5: Give the AI Good Instructions
This part is really important.
You need to tell your AI how it should behave.
You could give it instructions like:
“Act as a friendly study assistant. Explain difficult topics using simple English. Do not make explanations unnecessarily complicated. Ask the student questions to check their understanding. When creating quizzes, give one question at a time. Do not immediately give the answer before the student tries.”
This is called giving the AI instructions or a prompt.
A good prompt can make a big difference.
Instead of simply saying:
“Explain maths.”
You can say:
“Explain this maths topic to a 15-year-old student using simple English, one example and a short practice question.”
The second instruction gives the AI much more information.
Step 6: Add an Explain Feature
Now let’s make the assistant more useful.
Create an Explain Topic feature.
The student enters:
“Explain photosynthesis.”
The assistant should return:
- Simple explanation
- Important points
- Example
- Short question
You can even add difficulty levels.
For example:
Easy
Explain the topic like I am a beginner.
Medium
Explain the topic for a school student.
Hard
Give me a detailed explanation with examples.
This makes the assistant useful for different students.
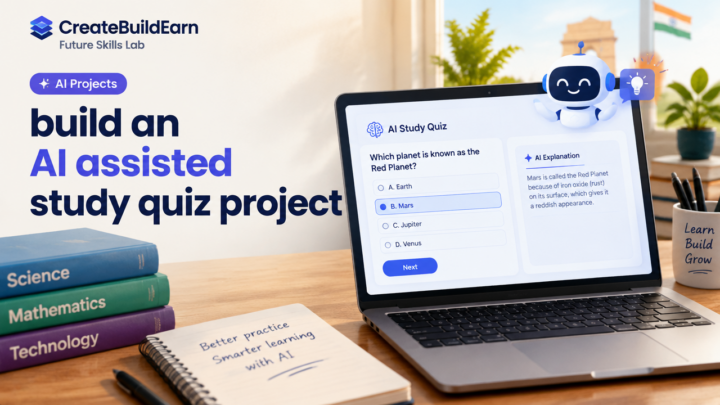
Step 7: Add a Quiz Generator
This is one of the best features for an ai study assistant project.
Instead of asking AI for the answer every time, you can make it test you.
For example:
Quiz: Physics
Question 1:
What is the SI unit of force?
A. Joule
B. Newton
C. Watt
D. Pascal
The student selects an answer.
The assistant can then say whether it was correct and explain why.
You can also add a score.
For example:
Your Score: 8/10
That makes the project feel much more like a real educational application.
More importantly, quizzes make the student actually remember things instead of just reading AI answers.
Step 8: Add a Summarizer
Students often have huge notes.
Reading everything before an exam can take a lot of time.
So we can add a Summarize Notes feature.
The student pastes their notes into the application.
The AI could return:
Important Points
- Photosynthesis happens in plants.
- Chlorophyll helps absorb sunlight.
- Carbon dioxide and water are used.
- Oxygen is released.
You could also give the student options such as:
Short Summary
Detailed Summary
Exam Revision Notes
This would make the assistant much more useful.
Step 9: Add Flashcards
Flashcards are another cool feature.
Suppose your notes contain information about planets.
The AI could create:
Question: Which planet is known as the Red Planet?
Answer: Mars.
Then:
Question: Which is the largest planet?
Answer: Jupiter.
The student can go through these cards one by one.
You can also add a button:
I Know This
and another:
I Need Practice
The assistant can then show the difficult cards again.
Step 10: Add Your Own Notes and PDFs
Now we can make the project even better.
Instead of making the AI answer from general knowledge only, let the student provide their own study material.
For example:
- School notes
- PDF textbooks
- Revision notes
- Class documents
- Study guides
The assistant can then use those materials while answering questions.
This type of system is often called a document-based or RAG-style assistant. Some current AI tutoring projects use uploaded course documents and retrieve relevant information before generating an answer.
For example, the student uploads a chapter about electricity.
Then asks:
“What is resistance?”
The assistant searches the provided material and gives an answer based on that material.
This can be much more useful than making the AI guess what textbook the student is using.
Step 11: Add a Study Planner
This is another feature I would definitely add.
The student enters:
“I have a science test in 7 days.”
The assistant can ask:
- Which chapters?
- How much time can you study each day?
- Which chapters are difficult?
- When is the exam?
Then it can make a plan.
For example:
| Day | Study Plan |
|---|---|
| Day 1 | Physics Chapter 1 |
| Day 2 | Physics Chapter 2 |
| Day 3 | Chemistry Chapter 1 |
| Day 4 | Biology Chapter 1 |
| Day 5 | Revision |
| Day 6 | Practice Questions |
| Day 7 | Full Mock Test |
A good AI study system should help students plan, understand, practice, review and improve rather than simply give answers.
Step 12: Add Progress Tracking
Now let’s make the project feel like an actual app.
You can save things like:
Topics Completed: 12
Quizzes Taken: 8
Average Score: 82%
Weak Topics: Algebra, Electricity
You could also create a progress bar.
For example:
Maths: 75%
Science: 60%
English: 90%
This can motivate students to keep studying.
Step 13: Make the Assistant Friendly
Nobody wants to study with a robot that sounds like a boring textbook.
So make the assistant friendly.
Instead of:
“Your answer is incorrect.”
You could make it say:
“Not quite! 😅 Try thinking about the unit used for force.”
After the student gets it right:
“Yes! 🎉 That’s correct.”
The assistant should encourage the student but should not give fake praise for every answer.
Step 14: Test Your AI Study Assistant
This is something beginners sometimes forget.
After building the project, test it properly.
Ask it questions that you already know the answers to.
For example:
- Ask 10 science questions.
- Check the answers.
- Ask 10 maths questions.
- Check the explanations.
- Try incorrect questions.
- Try confusing questions.
- Upload your notes.
- Ask questions about those notes.
Write down the results.
You can make a simple table:
| Test | Result |
|---|---|
| Science Questions | Passed |
| Maths Questions | Passed |
| Quiz Generation | Passed |
| Summary | Passed |
| PDF Questions | Needs Improvement |
| Wrong Answer Handling | Passed |
This turns your project from a simple demo into something you have actually tested.
Important: Don’t Trust AI Blindly
This is really important.
AI can make mistakes.
Sometimes it can confidently give you an incorrect answer.
So if something is important for your exam, check it with your textbook, teacher or trusted study material.
AI should be your helper, not your only source.
“If AI gives you an answer, don’t just believe it. Understand it.”
Educational guidance also recommends that students stay active in the learning process, check AI-generated information and use AI as a study partner rather than a replacement for their own thinking.
Don’t Use It for Cheating
I think this is one of the most important things to mention.
If your teacher gives you an assignment, don’t simply ask the AI to complete everything and submit it.
Use the assistant to:
- Understand the topic
- Get explanations
- Practice questions
- Check your understanding
- Find mistakes
- Brainstorm ideas when allowed
But your final schoolwork should still be your own work and follow your school’s AI rules.
A good ai study assistant project should make you smarter, not make you dependent on AI.
How I Would Improve the Project Later
Once the basic version works, there are so many things you can add.
You could add voice input so students can speak instead of typing.
You could add image support so students can take a photo of a question.
You could add a streak system.
For example:
🔥 7 Day Study Streak
You could add badges:
🏆 Quiz Master
📚 10 Topics Completed
🔥 7 Day Streak
🎯 90% Quiz Score
You could also add multiple student profiles.
Another cool idea is an exam mode.
In exam mode, the AI could generate a full mock test and calculate the score at the end.
Project Information and Important Links
| Information | Details |
|---|---|
| Project Name | AI Study Assistant |
| Focus | Student learning and revision |
| Main Users | Students |
| Beginner Frontend | HTML, CSS, JavaScript |
| Possible Backend | Python |
| Main AI Feature | AI-powered study help |
| Extra Features | Quiz, summary, flashcards, planner |
| Difficulty | Beginner to Intermediate |
| Best Starting Version | Chat + Explain + Quiz |
| Important Rule | Verify important AI answers |
| Main Goal | Help students learn independently |
Common Problems You May Face
While building this project, you may face some problems.
The AI might give bad answers.
The website might not connect to your backend.
Your API request might fail.
Your PDF reader might not extract text properly.
Your database might not save information.
Don’t panic.
These problems are normal when making projects.
Start by checking one part at a time.
First check the website.
Then check the backend.
Then check the AI connection.
Then add the database.
Don’t build everything at once.
My Suggested First Version
If I were making this project as a student, I would not try to make the huge version immediately.
I would build this:
Page 1: Home
Page 2: AI Chat
Page 3: Quiz
Page 4: Notes
And I would add only three main AI functions:
Explain
Quiz
Summarize
After that works properly, I would add PDFs, flashcards, progress tracking and study planning.
This way the project stays manageable.
What I Learned From This Project
The cool thing about an ai study assistant project is that you don’t only learn how to make an AI app.
You also learn how to solve problems.
You learn how to think about users.
You learn how to test software.
You learn how to write better instructions for AI.
You learn that the first version of a project is usually not perfect.
And honestly, that is part of programming.
“A project does not have to be perfect to be useful. It just needs to work and keep getting better.”
FAQ
1. Is an AI study assistant difficult to build?
Not necessarily. A basic version can be quite simple if you already know some HTML, CSS, JavaScript or Python. The difficult part comes when you start adding things like PDF processing, databases, accounts and advanced AI features.
2. Can I build an AI study assistant as a school project?
Yes. It can be a very good school project because it combines programming with a real-world use case. You can explain the problem, your solution, the technology you used and the features you created.
3. Does my AI study assistant need an API?
A cloud-based AI assistant normally needs access to an AI service. However, you can also explore local AI models that run on your own computer. The best choice depends on your computer and the type of project you want to make.
4. Can the AI study assistant read PDFs?
Yes. You can add PDF support to your project. The application can extract text from the PDF and then send relevant text to the AI. More advanced systems can retrieve the relevant parts of a document before answering the student’s question.
5. Can an AI study assistant replace a teacher?
No. It should be a study helper, not a replacement for a teacher. AI can explain things and help you practice, but teachers can understand your situation, notice confusion and provide human guidance in ways an AI cannot.
Conclusion
Building an ai study assistant project is a really cool way to learn about AI and programming at the same time.
You don’t have to start with a giant application. Start with a simple chatbot. Then add an explanation feature. After that, add quizzes, summaries, flashcards and notes.
Later, you can add PDFs, voice input, image questions, study plans and progress tracking.
The most important thing is to actually understand what you are building.
If your assistant gives you an answer, check it. If it explains something, try explaining it yourself. If it creates a quiz, actually take the quiz.
That is what makes this project useful.
AI should not be the student. You should be the student. AI is just your study partner.
Want a professional website designed for your business or blog?
Visit eDigitalized for website design and development services.
Need help or support?
Visit our Contact Us page and get in touch with us.
Want to become a blogger and start your own blog?
Visit WP Bazaar for blogging resources, tools, and helpful guides.

How this guide was prepared
This guide is prepared for everyday readers using practical research, usability checks and editorial review. Product or tool-specific claims should be verified against current official documentation when needed.
How did you like this article?
Your feedback helps us make our guides more useful.


Join the Discussion
Join the conversation and share a useful tip, question or experience.