
Quick Start
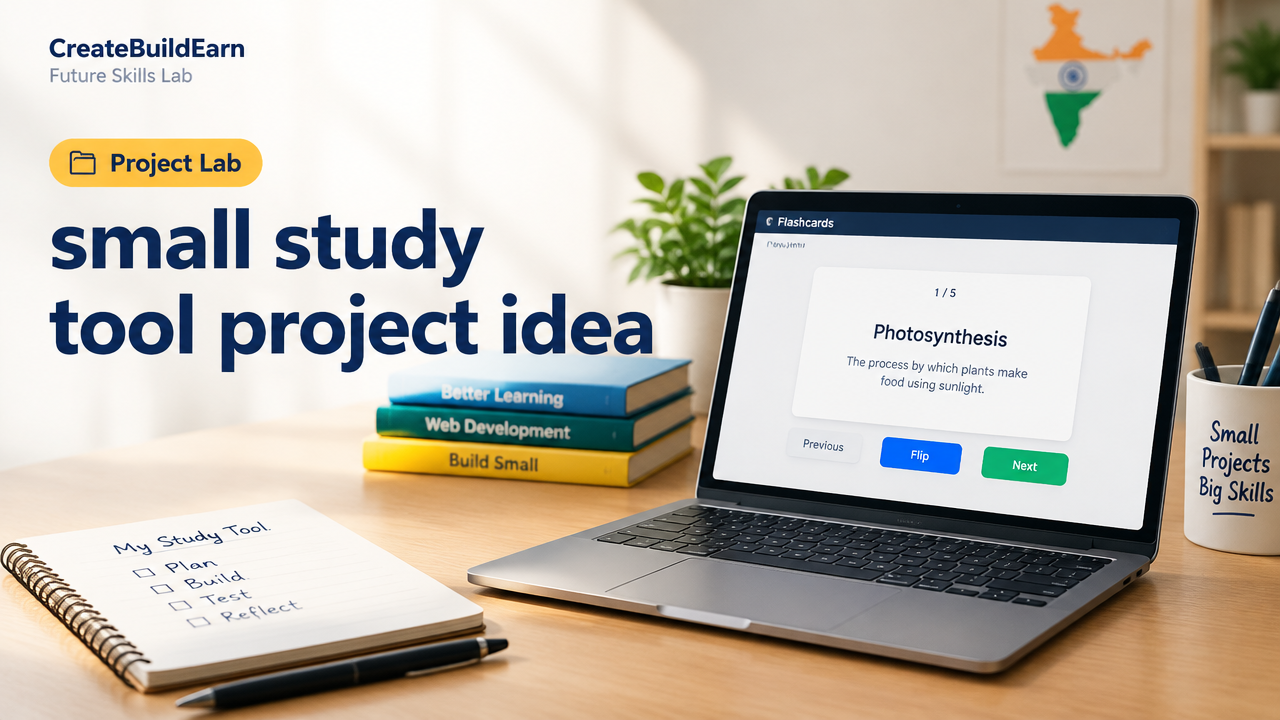
What you will learn/build: Plan and build a small study tool (flashcard or mini-quiz) with a clear scope, basic HTML/JS prototype, and a short reflection to improve it.
Skill level: Beginner — suitable for students and adult learners with basic computer skills.
Time needed: 2–5 hours for the first working prototype (split across short sessions).
What you need: A computer, a code editor (VS Code, Notepad++ or similar), a modern browser, and optionally a free GitHub account to save your work.
Introduction
This guide helps you turn a small study tool project idea into a clear scope and a working prototype. The goal is practical: create something you can use to study right away and then reflect to improve it. You will learn how to set realistic requirements, build a minimal working product, test it, and plan next steps.
Why build a small study tool?
- It makes learning concrete — you study while you build.
- Small scope reduces frustration and helps you complete a project quickly.
- Projects are proof of skill — useful for a learning portfolio.
Prerequisites
- Comfort with typing and using a browser.
- Optional: very basic HTML and JavaScript helps but not required — the guide includes a simple example you can copy and change.
- Ability to break work into 30–60 minute sessions (good study habit).
Project Scope: Define the Minimum Viable Tool
Start by choosing one small tool. Two safe and effective examples:
- Flashcard app (front/back cards you can flip and mark correct/incorrect)
- Mini-quiz (5–10 multiple-choice questions with instant feedback)
Keep the initial scope tiny so you can finish and reflect. Example MVP features:
- Load 5 study items (hard-coded or pasted in)
- Show one item at a time
- Record correct/incorrect responses locally (no accounts)
- Simple review summary at the end
Step-by-step path (Design → Build → Test → Reflect)
- Plan (30-60 minutes): Choose subject and format (flashcards or quiz). Write 5 items. Decide UI: buttons for Next, Flip, or Choose answer.
- Prototype (60–120 minutes): Build a simple HTML file with JavaScript to show items, handle clicks, and track score. Keep code clear and commented.
- Test (30–60 minutes): Use the tool for a 20–30 minute study session. Note problems and confusion.
- Reflect and improve (30–60 minutes): Add one small improvement (shuffle items, save results to localStorage, add short timer).
Worked example: Simple flashcard web prototype
This learning example shows the minimum code you need. It uses plain HTML and JavaScript and runs in any modern browser. Copy into a file named flashcards.html and open it in your browser.
<!doctype html>
<html>
<head><meta charset="utf-8"><title>Flashcards</title></head>
<body>
  <h1>Mini Flashcards</h1>
  <div id="card"></div>
  <button id="flip">Flip</button>
  <button id="next">Next</button>
  <p id="progress"></p>
  <script>
    // Learning example only: simple flashcard logic
    const cards = [
      {front: 'Capital of India?', back: 'New Delhi'},
      {front: '2+2?', back: '4'},
      {front: 'H2O is?', back: 'Water'},
      {front: 'Largest planet?', back: 'Jupiter'},
      {front: 'Synonym of "big"?', back: 'Large'}
    ];
    let i = 0, showingFront = true;
    const cardEl = document.getElementById('card');
    const progress = document.getElementById('progress');
    function show() {
      cardEl.textContent = showingFront ? cards[i].front : cards[i].back;
      progress.textContent = `${i+1} of ${cards.length}`;
    }
    document.getElementById('flip').addEventListener('click', ()=>{ showingFront = !showingFront; show(); });
    document.getElementById('next').addEventListener('click', ()=>{ i = (i+1) % cards.length; showingFront = true; show(); });
    show();
  </script>
</body>
</html>
Notes: This is a small, safe learning example. It stores nothing on the internet and only runs locally in your browser.
Try It Now / Mini Project
Build a 5-card flashcard tool with the example above, then add one extra feature from the list below. Work in a short focused session (30–60 minutes).
- Add a “Mark as Known” and “Mark as Unknown” button and show a summary count after going through all cards.
- Add a shuffle button to display cards in random order.
- Save the counts to localStorage so results persist after closing the browser tab.
Task steps:
- Copy the worked example into a file and open it in your browser.
- Choose one extra feature and implement it.
- Test with your study material and write 3 quick notes: what worked, what didn’t, and one idea to improve.
Checkpoint / Self-review
After completing the mini-project, check these items to confirm progress:
- Did a card display and flip correctly?
- Could you move to the next card without errors?
- Did you add and test at least one additional feature?
- Did your tool help you recall or check knowledge during a short study session?
Common mistakes and how to avoid them
- Over-scoping: Trying to add accounts, sync, or complex UIs on the first try. Fix: keep MVP tiny and local.
- Too many features at once: Add one improvement at a time and test it.
- Copying code without understanding: Make small changes and observe what each change does.
- Not testing in real study sessions: Use your tool in a real 15–30 minute study block to find usability issues.
Review checklist
| Item | Done (✓) | Notes |
|---|---|---|
| 5 study items created | ||
| Basic UI to view and flip items | ||
| Next/Progress controls | ||
| One extra feature implemented | ||
| Tested during a 20–30 min study session | ||
| Reflection notes saved |
Next practice / Roadmap
Once your MVP is stable, choose one next step:
- Add spaced repetition: show harder items more often. Start by reordering the deck based on correct/incorrect answers.
- Make it shareable: export/import a simple CSV file of cards (no accounts required).
- Build a simple quiz version with multiple-choice and a score summary.
Relevant internal guides to continue learning:
- Active Recall Spaced Repetition Study System for Beginners
- Build an AI Assisted Study Quiz Project: A Responsible Beginner Guide
- Study Session Planner for 30, 60 and 90 Minute Sessions
- How to Use AI as a Tutor Without Letting It Do All the Thinking
Frequently Asked Questions
How long should my first prototype take?
A focused first prototype can take 2–5 hours. Break work into short sessions: plan (30–60 min), build (60–120 min), test (30–60 min), reflect (30–60 min).
Do I need to learn JavaScript to make a study tool?
No. You can start with paper or a spreadsheet. A basic JavaScript prototype helps you learn tech skills and is simple to copy and modify. The worked example is minimal and meant for beginners.
Can I use AI to generate quiz questions?
Yes, you can use AI to suggest or draft questions, but verify every question and answer for accuracy and bias. Use AI as an assistant, not a final authority, and follow safe-use practices in any student data handling.
Should I store student data or scores online?
Avoid storing personal data while learning. For early projects, keep results in localStorage or CSV exports. If you plan online storage later, learn about privacy, consent and secure hosting.
How do I avoid overcomplicating the tool?
Use the MVP approach: include only features that let you study. Add one feature at a time and test in real sessions. If it does not improve learning, don’t add it yet.
What device should I test the tool on?
Test on the devices you’ll use most — phone and laptop are common. Ensure buttons are large enough on touch screens and text is readable.
How can this project help my portfolio?
Document the problem, your design choices, screenshots, and a short demo or link to the working file. Explain what you learned and what you’d improve next. That shows process and applied learning.
Conclusion and next skill to learn
Start with a tiny, usable study tool — finish it, use it, and reflect. This builds both study and project skills: planning, building, testing and improving. Next skill to learn: spaced repetition and simple data persistence (localStorage or CSV export) to make your tool more useful over time.
Good luck—pick a subject, open a code editor or notebook, and build your first mini tool today.
Learn it by building something
Use the guide as a learning checklist, build a small version yourself, test it, explain what you learned and then improve the project.
How this guide was prepared
This guide is prepared for everyday readers using practical research, usability checks and editorial review. Product or tool-specific claims should be verified against current official documentation when needed.
How did you like this article?
Your feedback helps us make our guides more useful.

Join the Discussion
Join the conversation and share a useful tip, question or experience.