
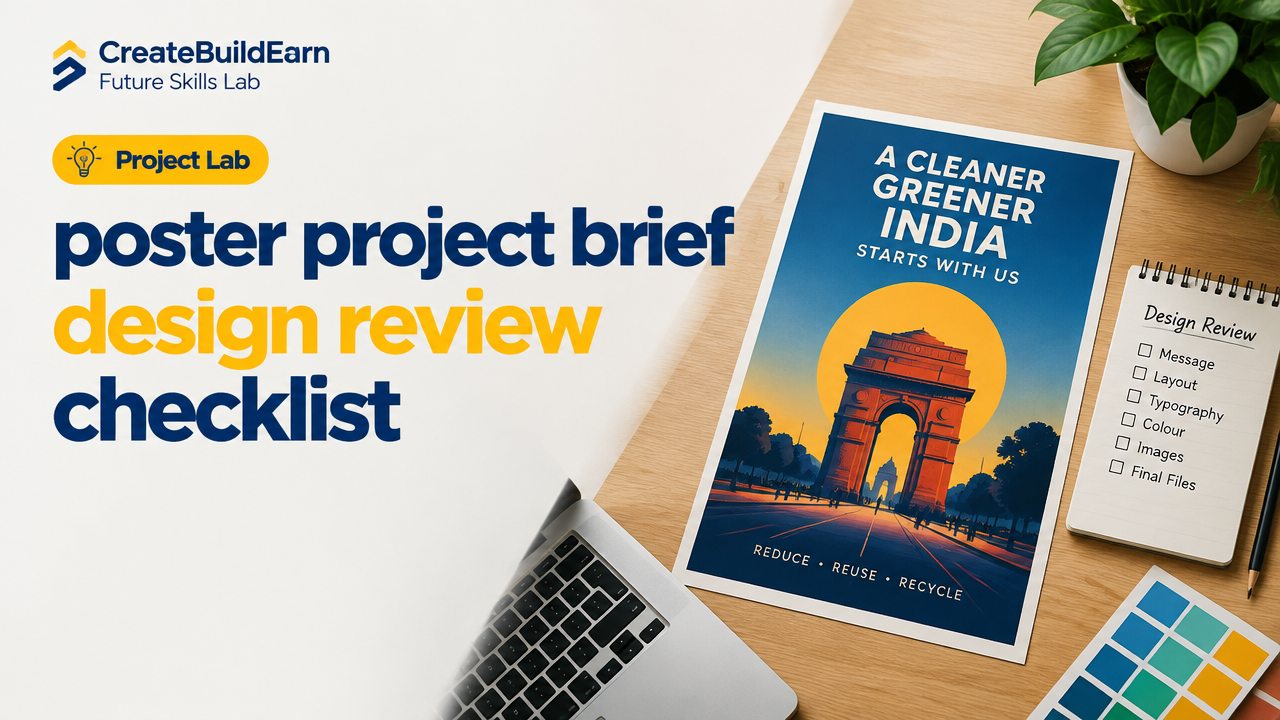
Quick Start
What you will learn/build: How to write a clear poster project brief, how to review drafts with a practical design checklist, and how to prepare final files for print or web.
Skill level: Beginner — useful for students, creators, small business owners or anyone making a poster for the first time.
Time needed: 1–4 hours depending on poster complexity (30–60 minutes to write the brief, 30–90 minutes for review, 30–60 minutes for final export).
What you need: A text editor for the brief, a design tool (Canva, Figma, Affinity, Illustrator) or paper sketch, reference images and assets, basic file export capability (PDF/JPEG/PNG), and access to a printer or web host if publishing.
Why a poster brief and design review matter
A focused brief keeps the poster’s purpose clear. The design review ensures the message, layout and technical files are correct before you print or publish. Skipping these steps risks wasted time, extra cost and poor results.
Poster brief: must-have elements
Write a short brief (one page). Use plain language and include:
- Purpose: What should the poster achieve? (inform, promote, invite)
- Audience: Who will see it? (age, location, interests)
- Size & orientation: e.g., A3 portrait, 1080×1920 px vertical for stories
- Primary message / headline: One short, clear sentence
- Call to action (CTA): What do you want viewers to do?
- Branding & colours: Logo placement, brand colours or palette
- Assets & sources: Photos, icons, fonts and who owns or provides them
- Deliverables: File types, resolution and any print specs
- Deadline & budget: Final date and any cost limits
Design review: a practical step-by-step path
- Check the brief first. Read the brief and mark the top 3 goals.
- Headline clarity. Can someone understand the poster in 3 seconds?
- Hierarchy & layout. Is the most important info visually prominent?
- Typography. Are fonts readable at intended distance or screen size?
- Contrast & colour. Is text legible on background colours or images?
- Images & icons. Are they high enough quality and legally usable?
- Spacing and alignment. Check margins, gutters and consistent alignment.
- Branding & CTA. Is the logo placed correctly and the CTA obvious?
- Technical checks. Resolution, bleed, colour mode (CMYK for print), safe areas.
- Accessibility and readability. Consider text size, colour contrast and alternative text if used online.
Practical checklist table (print & digital)
| Area | Question to answer | Pass/Fail |
|---|---|---|
| Brief match | Does design meet the brief’s purpose and audience? | |
| Headline | Clear in one read / 3-second scan? | |
| Hierarchy | Important items emphasised visually? | |
| Typography | Readable fonts & sizes at final scale? | |
| Images | High quality, licensed, correct aspect ratio? | |
| Colours | Contrast ok; brand colours used correctly? | |
| Bleed & safe area | Bleed set for print; important text inside safe area? | |
| File export | Correct format, resolution and colour mode? | |
| Accessibility | Readable; alt text available for web? |
Worked example: short brief and review notes
Sample brief (1–2 lines): Create an A3 portrait poster to promote a college open day. Audience: high-school students and parents. Headline: “Explore Your Future at Our Open Day”. CTA: Register at example.edu/oepn. Deadline: 2 weeks.
Design review notes (example):
- Headline needs stronger contrast against background photo — increase font weight or add semi-opaque overlay.
- CTA is too small — make button 1.5× larger and place near bottom centre of safe area.
- Logo placement: top-left okay but scale down slightly to avoid overpowering headline.
- Image resolution: background photo is 150 dpi; replace with 300 dpi or reduce print size.
- Bleed set to 3 mm — confirm with printer; convert colours to CMYK before final export.
Try It Now / Mini Project
Time: 60–120 minutes.
- Write a one-page brief for a poster (use the brief checklist above).
- Create a quick draft in any tool (paper, Canva, Figma). Keep it simple — headline, image, CTA, logo.
- Use the practical checklist table to review your draft. Mark Pass/Fail and add 3 revision notes.
- Make one focused revision (improve headline contrast, increase CTA size or adjust spacing).
- Export a final file (PDF for print or PNG/JPEG for web) and save the brief with the final filename.
Tip: If you use AI to generate copy or layout ideas, verify accuracy, check rights for any images, and keep a human in the loop for edits and fact-checking.
Checkpoint: self-review questions
Before final export, answer these quickly:
- Does the poster communicate its main message in 3 seconds?
- Are the headline and CTA readable from the intended viewing distance?
- Are all images licensed or original and high enough quality?
- Are technical specs correct for print or web (resolution, colour mode, bleed)?
- Did you save an editable source file and export a high-quality final file?
Common mistakes and how to avoid them
- Poor brief: Vague goals lead to rework. Fix: write 3 clear objectives before design.
- Too much information: Crowded posters lose focus. Fix: remove or move secondary items.
- Low-res images: Result: pixelation in print. Fix: use 300 dpi images or vector graphics for print.
- Wrong colour mode: Designing in RGB and printing in CMYK can shift colours. Fix: check printer specs and work in correct mode for final export.
- Unreadable fonts: Fancy fonts may look good but be unreadable. Fix: use clear display fonts for headlines and legible body fonts for details.
Final review and export checklist
Before you send to print or upload:
| Task | Done |
|---|---|
| Final proof read (spelling, contact info) | |
| Bleed and crop marks included (print) | |
| PDF/X export or high-quality PDF (printer preference) | |
| RGB export for web at correct pixel dimensions | |
| Editable source file saved (Figma/AI/PSD) | |
| License documents for images/fonts saved |
Next practice and learning path
Practice variations: create the same poster for social media (square and story sizes) and a print flyer using the same brand. This builds reusable assets and speeds future work.
Recommended next reading on CreateBuildEarn:
- Aspect Ratio, Resolution, File Format & Tools for Creators Explained
- How to Choose a Design Video or Writing Tool Based on Task
- Graphic Design Basics: A Beginner Guide
- Beginner Portfolio Before Client Work: Build a Strong Self-Initiated Project Portfolio
Frequently Asked Questions
How long should a poster brief be?
Keep it short: one page or a few bullet points is ideal. Focus on purpose, audience, core message, CTA, size, assets and deadline.
What file format should I send to the printer?
Ask your printer for preferred formats. Commonly used formats include high-quality PDF (PDF/X), with fonts embedded and 3 mm bleed. Convert to CMYK if required by the printer.
What resolution should I use for print vs web?
Print typically needs 300 dpi at actual print size; web uses pixel dimensions (e.g., 1080×1350 px) and 72–150 dpi depending on platform. For safety, export separate files for print and web.
Can I use AI to create poster copy or images?
Yes, but verify facts, check image licences and ownership, and edit copy for tone and local context. Never rely solely on AI for legal or critical content; keep a human reviewer in the loop.
How do I check colour differences between screen and print?
Design in the colour mode your printer recommends (often CMYK). Request a printed proof from the printer to confirm colour and adjust if necessary.
What are safe areas and bleeds?
Bleed is extra image area extending past the trim edge (commonly 3–5 mm) to avoid white edges after cutting. Safe area is margin inside the trim where important text or logos should not be placed.
How many revisions are reasonable?
Keep revisions focused and limited. For small projects, 1–2 rounds of revisions are reasonable. Use a clear brief and checklist to reduce unnecessary changes.
How should I store final files and assets?
Save an editable source file (Figma, AI, PSD), export final print/web files, and store originals and licenses in a project folder. Include a short README listing fonts, image credits and the final export specs.
Conclusion and next skill to learn
Using a clear brief and a focused review checklist saves time and produces better poster results. Next, learn about file formats, resolution and export settings to avoid technical issues—start with Aspect Ratio, Resolution, File Format & Tools for Creators Explained.
Good luck: write a tight brief, run the checklist, and keep each revision goal-focused. That process turns a draft into a reliable final poster for print or web.
Learn it by building something
Use the guide as a learning checklist, build a small version yourself, test it, explain what you learned and then improve the project.
How this guide was prepared
This guide is prepared for everyday readers using practical research, usability checks and editorial review. Product or tool-specific claims should be verified against current official documentation when needed.
How did you like this article?
Your feedback helps us make our guides more useful.

Join the Discussion
Join the conversation and share a useful tip, question or experience.