
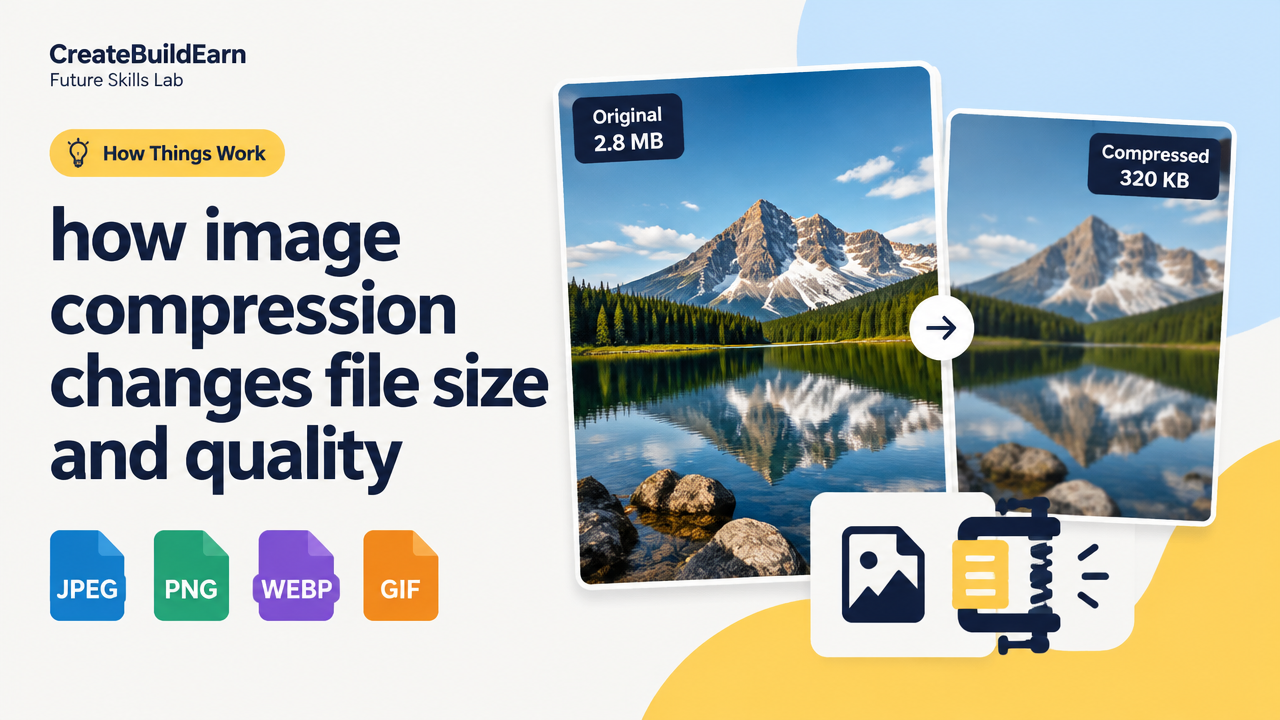
Quick Start
What you will learn/build: Understand how compression changes image file size and quality, choose formats, use tools and commands, and complete a mini-project to compare outputs.
Skill level: Beginner — no coding required; basic computer skills helpful.
Time needed: 30–75 minutes (reading + hands-on test).
What you need: A computer, one or two sample images (photo and graphic), an image editor or free tools (e.g., web image compressors, ImageMagick or a desktop editor), web browser.
Introduction — why compression matters
Images are a big part of websites, presentations and social media. Large images slow page load, use more storage and cost bandwidth. Compression reduces file size, but it can change visual quality. This guide explains how compression works, when to use lossy vs lossless methods, and gives step-by-step practice so you can choose the right balance for web, mobile or print.
How image compression works (simple)
Compression removes or reorganises data so a digital image uses fewer bytes. There are two main approaches:
- Lossless compression: Shrinks file size without removing visual detail. The image can be restored exactly. Formats: PNG, GIF, WebP (lossless), TIFF (some settings), and ZIP-style archives.
- Lossy compression: Discards some image detail to get much smaller files. The result looks similar but not identical. Formats: JPEG, lossy WebP, HEIC/HEIF.
Lossy methods target details the eye notices least (subtle color changes, high-frequency noise), while lossless methods find more efficient ways to store identical pixels.
Key factors that affect final size and visible quality
- Original image type: Photographs compress well with lossy JPEG. Simple graphics with flat colors (logos, icons, text) keep quality better with lossless PNG or SVG.
- Resolution (pixel dimensions): More pixels = larger base size. Reduce dimensions for web and mobile to save lots of bytes.
- Compression setting (quality): Quality sliders (0–100) trade size vs fidelity. Lower quality = smaller file but visible artefacts.
- File format: Different formats use different algorithms and give different results.
- Image content: High detail (leaves, hair) loses more quality under aggressive compression than smooth gradients.
File formats and when to use them
- JPEG: Best for photos and complex images. Use lossy compression. Good for web photos.
- PNG: Good for graphics, screenshots, and images needing transparency. Use lossless compression.
- WebP / AVIF: Modern formats that can be smaller than JPEG/PNG at similar quality. Support varies across browsers and tools—check before using widely.
- SVG: Vector format for logos and icons; scales without quality loss and often very small.
- TIFF/HEIF: Used in professional workflows or mobile photos; consider compatibility and required quality.
Practical step-by-step: compress images for the web
- Choose the right format: photos -> JPEG or WebP; graphics -> PNG or SVG.
- Resize the image to the display size you need (don’t upload massive dimensions if the website shows it at 800px wide).
- Crop to remove unnecessary areas that add file size.
- Choose a quality setting and export. Start with quality 85 for JPEG and compare. Lower if needed for small thumbnails.
- Use progressive JPEG or WebP for better perceived loading (optional).
- Test on device and check for visual artefacts.
Useful commands and examples (safe learning examples)
Example: Resize and compress a photo with ImageMagick (learning example). On many systems the tool is called magick or convert. These commands are for learning — test on copies of files.
<!-- Example commands, replace input.jpg and output.jpg with your filenames -->
magick input.jpg -resize 1600x -quality 85 output-1600.jpg
magick input.png -resize 800x -quality 85 output-800.jpg
Example: Responsive HTML uses srcset to load a suitable size for each device, reducing bytes sent:
<img src="photo-800.jpg"
     srcset="photo-400.jpg 400w, photo-800.jpg 800w, photo-1600.jpg 1600w"
     sizes="(max-width: 600px) 400px, (max-width: 1200px) 800px, 1600px"
     alt="Sample photo"/>
Worked example — compare results (hypothetical to illustrate how size changes)
Start with a 4000×3000px RAW-exported photo that is 6 MB as a PNG. You want a web-friendly version at 1200px wide.
- Step 1 — Resize: reduce to 1200×900px. This often cuts bytes dramatically (example only).
- Step 2 — Export as JPEG quality 85: imagine the output is 450–900 KB depending on image detail.
- Step 3 — Export as JPEG quality 60: file may drop to 150–400 KB but fine detail may blur and compression artefacts appear.
- Step 4 — Export as WebP at equivalent perceived quality: you may get 20–40% smaller file than JPEG for similar-looking results (browser support needed).
Note: These numbers are illustrative ranges. Actual files vary with content and tool settings. Always compare visually and measure file sizes on your own samples.
Try It Now / Mini Project
Objective: Create three versions of the same image for web: high-quality (for a blog feature), medium-quality (fast page load), and thumbnail.
- Pick one photograph and one simple graphic (logo or icon).
- For each photo: resize to 1600px, 800px and 200px widths; export as JPEG quality 85, 70, 50 respectively. Save with clear filenames.
- For the graphic: save one PNG (with transparency), one compressed SVG (if you can), and a small PNG at 200px.
- Open the files in a browser and on your phone. Note visual differences and file sizes.
- Write a short note: which setting gives acceptable quality and the smallest file for your use case?
Tip: Keep original files safe. Compare before/after using zoom to spot artefacts.
Checkpoint / Self-review
Ask yourself these quick checks after compressing:
- Does the image look acceptable at the target size and device?
- Is there visible banding, blocky artefacts, or colour shifts?
- Did file size drop enough for your page load goals?
- Did you keep originals and clear naming for versions?
Common mistakes and how to avoid them
- Compressing the original master: Always work on a copy; keep the master uncompressed.
- Using too low quality for photos: Lower quality for thumbnails only; keep higher quality for feature images.
- Wrong format for the content: Don’t save a logo as JPEG—use PNG or SVG to keep edges sharp and allow transparency.
- Not resizing before uploading: Uploading huge images and letting the browser scale them wastes bandwidth.
- Assuming one setting fits all: Test different quality levels and formats for each image type.
Review checklist (quick table)
| Step | Action | Done? |
|---|---|---|
| 1 | Keep original master safe | |
| 2 | Choose format (JPEG/PNG/WebP/SVG) | |
| 3 | Resize to display size | |
| 4 | Export at 2 quality levels and compare | |
| 5 | Test on phone and desktop |
Next practice and learning path
After this guide, try these next steps to build relevant skills:
- Practice responsive images on a simple web page using srcset and picture elements.
- Learn more about formats and trade-offs with the linked deep-dive below.
- Build a small web portfolio showing original vs compressed images and note load times.
Related internal resources
- Aspect Ratio, Resolution, File Format & Tools for Creators Explained
- Responsive Web Design Mobile-First Basics: Beginner’s Practical Guide
- WordPress Gutenberg Page Building Workflow: Beginner’s Step-By-Step Guide
- HTML CSS Profile Card Mini Project: Build a Responsive Profile Card
Frequently Asked Questions
What is the main difference between lossy and lossless compression?
Lossless compression reduces file size without changing the exact pixel data; the image can be fully restored. Lossy compression removes some data to get smaller files, which can cause visible changes but often saves far more space.
Will converting PNG to JPEG always reduce size?
Not always. Photos in PNG (rare) can be much larger than JPEG; converting typically reduces size. But for clean graphics with flat colors, PNG can be smaller or visually better. Test both on your image.
How do I choose a good JPEG quality setting?
Start around 85 and compare. For thumbnails or very small images, you can go lower (60 or 50). The best setting depends on content and acceptable visual quality—test and compare.
Is WebP always better than JPEG or PNG?
WebP often gives smaller files at similar quality, but support depends on your audience’s browsers and platforms. Use it with fallbacks, or check current compatibility before using it for all images.
How does resizing affect file size?
Resizing to fewer pixels usually reduces file size significantly. For web use, serve images at the display dimensions rather than very large originals scaled by the browser.
Should I automate image compression for a website?
Yes—automation can help. Use build tools, server-side image optimization or plugins that generate proper sizes and formats. But check outputs and keep a manual review step to avoid quality loss.
Can I recover lost quality after lossy compression?
No. Once detail is removed by lossy compression, it cannot be fully recovered. Keep original masters if you need high-quality versions in future.
Conclusion and next skill to learn
Understanding how image compression changes file size and quality helps you make practical choices for web, mobile and print. Start by keeping masters, resizing sensibly and testing formats and quality. Your next skill: learn how to serve responsive images on websites (srcset and picture elements) and measure page load impact. See the related resources above to continue.
Learn it by building something
Use the guide as a learning checklist, build a small version yourself, test it, explain what you learned and then improve the project.
How this guide was prepared
This guide is prepared for everyday readers using practical research, usability checks and editorial review. Product or tool-specific claims should be verified against current official documentation when needed.
How did you like this article?
Your feedback helps us make our guides more useful.

Join the Discussion
Join the conversation and share a useful tip, question or experience.