
Quick Start
What you will learn/build: A repeatable video editing workflow to turn raw clips into a finished exported video with balanced audio and captions.
Skill level: Beginner — no prior editing required.
Time needed: 60–120 minutes for a short 1–3 minute video practice project.
What you need: Any basic video editor (free options: DaVinci Resolve, Shotcut, OpenShot, iMovie on Mac), a few short clips (phone footage), a headset/microphone for checking audio, and a text editor for caption drafts.
Introduction — why a workflow matters
Editing a video without a workflow can be slow and stressful. A simple, step-by-step process helps you stay organised, fix common problems fast, and produce consistent results. This guide covers the essential stages: import & organise, trim on the timeline, fix audio, add captions, and export with the right settings.
What is the basic video editing workflow?
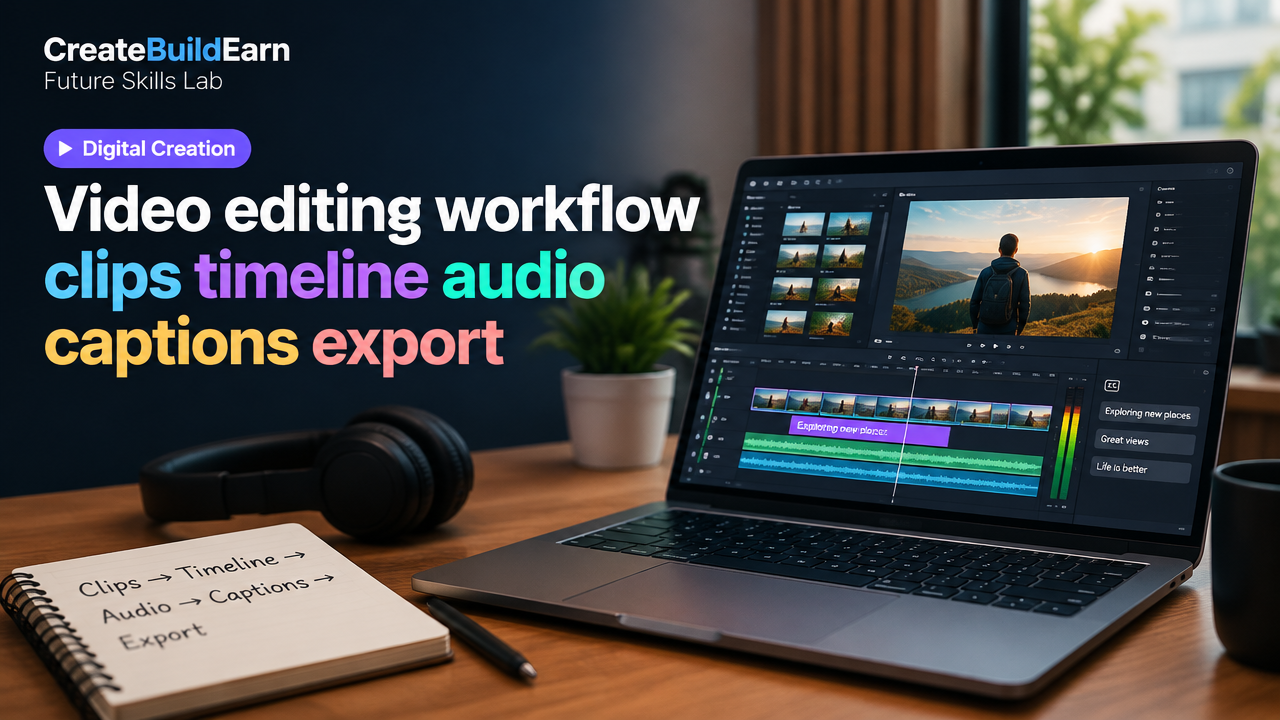
At its simplest, a video editing workflow follows these stages:
- Import & organise clips
- Create a project and set sequence settings
- Edit clips on the timeline (trim, order, transitions)
- Mix audio and add music/sfx
- Add captions/subtitles and graphics
- Export with correct codec, resolution and bitrate
- Review and iterate
Prerequisites — what to know first
- Basic computer skills: open files, save folders, move files.
- Familiarity with your chosen editor’s interface helps; use the program’s beginner tutorial first.
- Understand file types: MP4, MOV for video; WAV or MP3 for audio. If unsure, use MP4/H.264 for general export.
Step-by-step workflow (practical path)
Follow this practical sequence for each project. Keep tasks focused and use short save versions (v1, v2) to avoid losing work.
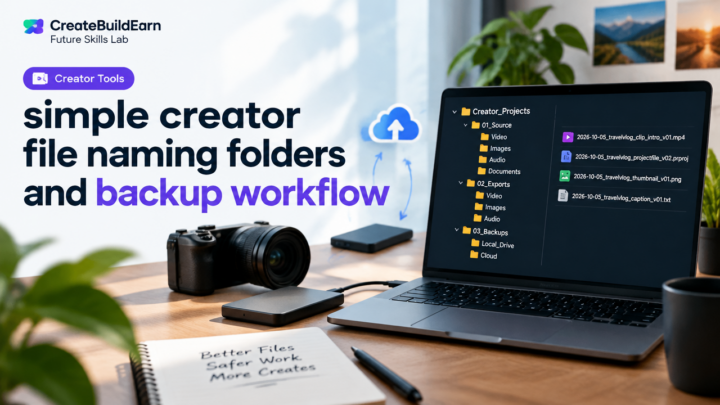
- Create project folder: Organise assets inside a main folder: /ProjectName/Clips, /ProjectName/Audio, /ProjectName/Exports, /ProjectName/Captions.
- Import assets: Bring all clips and audio into the editor’s media bin — use descriptive file names where possible.
- Set sequence/timeline settings: Match your main clip’s resolution and frame-rate (e.g., 1920×1080, 30fps). If mixing frame rates, decide a main timeline rate first.
- Rough cut: Drag main clips to the timeline and make large trims. Focus on story and order, not fine details.
- Fine edit: Tighten trims, cut pauses, remove mistakes. Add simple cuts and J-cuts/L-cuts where audio overlaps help flow.
- Transitions & B-roll: Add cuts or simple crossfades. Insert B-roll to cover jump cuts or add visual interest.
- Audio mix: Normalize/dialogue levels, reduce background noise, add music at lower volume, and use keyframes to duck music under speech.
- Captions/subtitles: Create captions from a transcript and place them on a separate subtitle track. Keep them short, 1–2 lines per caption.
- Color basics: Apply a single corrective pass (exposure, white balance) and a mild grade if desired.
- Export test: Export a short segment to check audio, captions and sync before final export.
- Final export: Use appropriate settings for the platform (YouTube, Instagram, WhatsApp). Save final file in /Exports and keep a delivery checklist.
Practical checklist & quick reference
| Task | Quick setting or tip |
|---|---|
| Timeline settings | Match main clip (e.g., 1920×1080, 24/25/30 fps) |
| Audio level | Dialog peaks ~-6 dB, average around -12 dB |
| Captions style | Sans-serif, 32 px for 1080p, 1–2 lines max |
| Export codec | H.264 for web, MP4 container |
| Backup | Save project file and media; export final to at least two locations |
Worked example: Editing a 60-second interview clip
Follow these steps to edit a short interview into a compact clip for social sharing.
- Import two-camera clips and audio. Put them in /Clips.
- Create a timeline at 1080p 30fps.
- Do a rough cut: arrange the best answer snippets to make a 60s narrative.
- Trim each clip to remove long pauses. Use J-cuts so the audio from the next clip starts slightly before the cut to smooth flow.
- Clean audio: apply noise reduction, normalize dialogue to -6 dB peaks, and add a soft background music track at -18 dB.
- Add captions: transcribe important lines, split into short caption blocks, and place them at the bottom with 8% margin from screen edge.
- Export test 10–15s to check sync, then export full 60s using H.264, 10–12 Mbps bitrate for 1080p.
Try It Now / Mini Project
Create a 1-minute highlight from three phone clips. Follow this checklist:
- Make a project folder and import clips.
- Create a timeline matching the highest quality clip.
- Make a rough cut to 60 seconds focusing on one idea (a tip, product demo, short story).
- Mix audio and add captions for accessibility.
- Export with H.264, 1080p and share to one platform.
Save the project file and the final export in separate backup locations.
Checkpoint: self-review questions
- Is the story clear in the first 10 seconds?
- Are dialogue peaks below -6 dB to avoid clipping?
- Do captions match spoken words and remain readable on mobile?
- Is the export format compatible with your target platform?
Common mistakes and how to avoid them
- Too long raw footage: Trim early. Keep only what serves the message.
- Loud music over voice: Use ducking or keyframes to reduce music when speaking.
- Incorrect timeline settings: Always match your main clip’s frame-rate and resolution to avoid jitter or re-frame issues.
- No backups: Regularly save versions and keep copies of original media.
- Unreadable captions: Test captions on mobile; increase size or add semi-opaque background if needed.
Review checklist before final export
- Project saved and backed up.
- Audio levels checked on headphones and speakers.
- Captions synced and proofread for accuracy.
- Export settings match platform requirements.
- Short test export approved before full export.
Next practice — small roadmap
After finishing the mini project, try these next steps to grow your skills:
- Practice audio repair: learn simple noise reduction and EQ.
- Experiment with motion graphics for intros/outros (templates are fine).
- Study compression basics: see how export bitrate affects quality and file size.
- Build a small portfolio with 3 edited clips and write a short case study for each.
Related resources on CreateBuildEarn:
- How Image Compression Changes File Size and Quality — helps with export size decisions.
- AI Content Research Checklist with Source Verification — use before uploading scripts or personal data to AI tools.
- Creator Content Calendar Without Posting Burnout — plan and reuse edited clips responsibly.
Frequently Asked Questions
What export settings should I use for YouTube?
Use H.264 codec, MP4 container, 1080p (1920×1080) or 4K if available, and a video bitrate around 8–12 Mbps for 1080p. YouTube has updated specs occasionally; check YouTube’s help page for the latest recommendations before big uploads.
How do I make captions quickly?
Use automatic transcription in your editor or an external tool, then proofread. Split long lines and keep captions to 1–2 lines for readability. Always check timestamps and spelling.
Should I edit on the highest quality original clips or proxies?
If your computer is slow, create proxy files (lower resolution) to edit smoothly, then switch back to full-resolution files for final export. Many editors support automatic proxy workflows.
How loud should my music be compared to dialogue?
Music should be noticeably lower than speech. A good starting point is music peaking around -18 dB while dialogue peaks around -6 dB. Use ducking so music reduces automatically when speech is present.
How do I keep captions readable on mobile?
Use a larger font size, high contrast (white text with subtle dark stroke or semi-opaque background), and place captions above the bottom safe area to avoid overlays. Test on an actual phone screen.
Can I reuse the same workflow for social short videos?
Yes. Short-form platforms often need vertical crops or specific aspect ratios (9:16). Start the workflow the same way, then adapt framing, captions and export resolution for the target platform.
How often should I back up project files?
Save after significant changes and keep final project folders backed up in at least two locations (local drive and external drive or cloud). Use version numbers so you can roll back if needed.
Conclusion — next skill to learn
This workflow gives you a reliable path from raw clips to a finished export. Next, learn audio repair and noise reduction techniques, or study export compression in more depth to control file size and quality. You can also start building a small portfolio of 3–5 edited videos and write short case studies for each to show improvement and process. For help organising projects and writing case studies, see our guide on Write a Project Case Study for a Beginner Portfolio.
Good luck — practice one short edit per week and you’ll see steady improvement.
Learn it by building something
Use the guide as a learning checklist, build a small version yourself, test it, explain what you learned and then improve the project.
How this guide was prepared
This guide is prepared for everyday readers using practical research, usability checks and editorial review. Product or tool-specific claims should be verified against current official documentation when needed.
How did you like this article?
Your feedback helps us make our guides more useful.


Join the Discussion
Join the conversation and share a useful tip, question or experience.