
Quick Start
What you will learn/build: A complete, repeatable plan to run an AI poster project: write prompts for images and layout, create poster drafts, review design and copy, and iterate to a final version.
Skill level: Beginner — no coding required. Useful for students and new creators.
Time needed: 1–3 hours for a first draft; additional 1–4 hours to refine.
What you need: A prompt-capable image AI or design tool (web-based), a text editor or notes app, reference images or brand assets, and a checklist for review. Make sure you can save image files (PNG/JPG) and export a PDF for print or web.
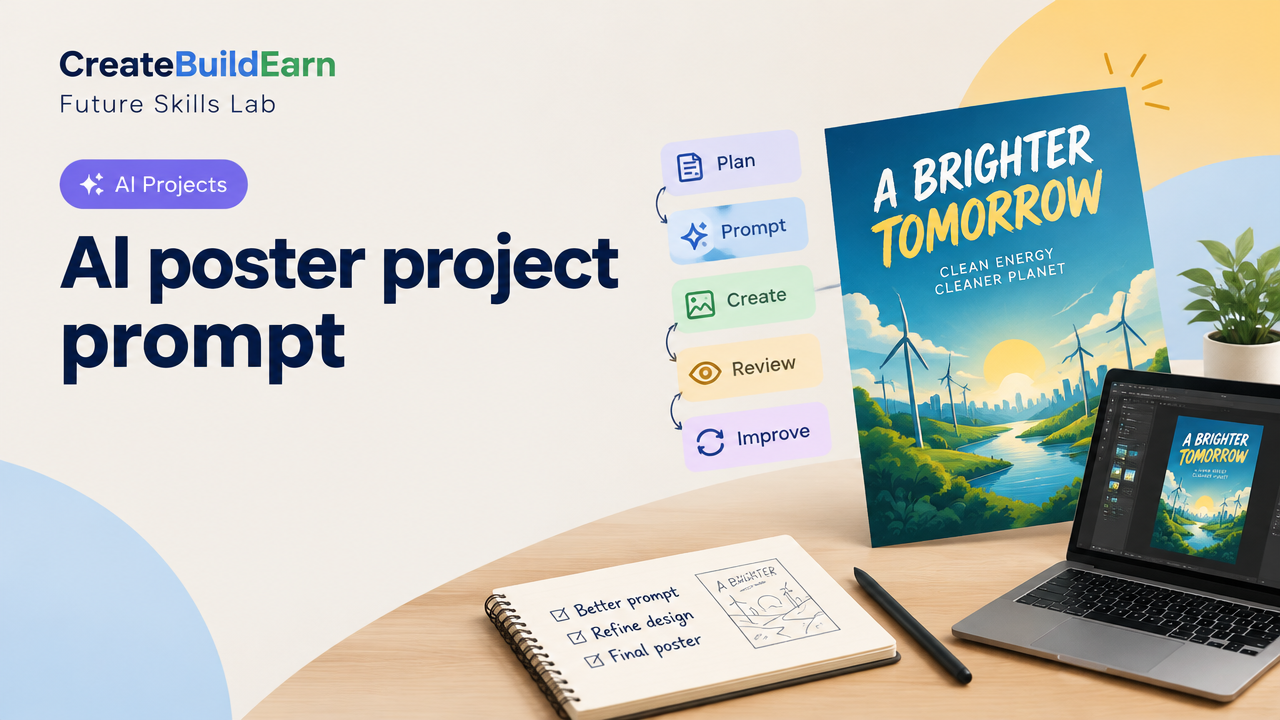
This guide takes a project-first approach: you will plan a poster project, write and improve prompts for AI image and layout tools, do a design review, and produce an improved final poster. The steps are practical, safe, and tailored for beginners.
How AI Poster Projects Work (Simple)
An AI poster project uses one or more AI tools to create visuals and text that fit a communication goal. Typical flow:
- Define the goal and audience.
- Collect brand assets and constraints (size, aspect ratio, colors, content).
- Write prompts for image generation or layout templates.
- Generate drafts, review, and refine prompts or manual edits.
- Finalize and export in correct formats for web or print.
Prerequisites
- Basic writing skills to describe what you want (short sentences work best).
- Access to an AI image generator or a design tool with prompt support. Verify the tool’s usage terms and image licensing.
- Basic design ideas: title, subtitle, date/time/location (or the poster’s key message).
- Optional: simple familiarity with aspect ratio and file formats (Aspect Ratio, Resolution, File Format & Tools for Creators Explained).
Step-by-step Plan: Plan → Prompt → Create → Review → Improve
- Plan (10–20 min)
- Set the goal: e.g., “A campus talk poster to attract students to a data-science workshop.”
- List required text: title, date/time, location, CTA (call to action), contact link.
- Decide size and format: A3 for print or 1080×1350 px for social share.
- Gather assets: logo, color codes, photos, or sample images.
- Write base prompts (15–30 min)
Create two prompts: one for visuals (image generation) and one for layout guidance if using a design AI. Keep them clear and specific.
- Create drafts (30–60 min)
Generate 2–5 visual variations. Place text over the best images in a design tool or use an AI that outputs composed poster drafts.
- Review and critique (20–40 min)
Use a short checklist to check readability, hierarchy, alignment, and message clarity.
- Improve (30–90 min)
Rewrite prompts to fix issues, or manually adjust layout and copy. Iterate until you have a final export.
Worked Example: Campus Event Poster
Goal: Promote a student workshop on “Intro to AI” with a clear title, subtext, date/time, and registration link.
Base visual prompt (image AI):
"Illustration of diverse students in a modern college classroom with a large screen showing simple AI icons; warm, energetic color palette; flat vector style; high contrast; copy space on right for text"
Base layout prompt (if your design AI supports layout):
"Poster layout: title top-left bold, subheading below, central image left-to-center, details block bottom-left, register button bottom-right; use brand color #1A73E8 as accent; readable sans-serif font"
First draft problems: image too busy behind text, title not readable, CTA not prominent.
Prompt improvement (iteration 2):
"Same scene but with soft blur on background behind text area; keep central image left and ensure wide empty space on right; higher contrast between text area and background; emphasize clear foreground subjects"
The improved prompt produces an image with clear copy space. Move text into that space and increase title size. Final check: legibility at thumbnail size, correct date/time, and export as 1080×1350 px JPG for social and a PDF for print.
Try It Now / Mini Project
Mini-project: Create a poster for a one-hour study group meeting.
- Write the plan: purpose, 3 required text items, size (Instagram story 1080×1920 or square 1080×1080).
- Draft a simple image prompt (30–60 words). Example: “Cozy study scene with two students and notebooks on a table, soft morning light, minimal background, warm tones, space on top for bold title.”
- Generate 3 images. Pick the best for text area. Place text using any editor or prompt-driven design tool.
- Use the review checklist below and iterate once to fix one issue you find (e.g., contrast or alignment).
Goal: A ready-to-share 1080×1080 poster file and two saved prompt versions (original and improved).
Checkpoint: Self-review
Ask yourself these quick questions:
- Can someone understand the poster’s message within 3 seconds?
- Is the title clearly visible in thumbnail size?
- Are date/time/contact details accurate and readable?
- Have you confirmed the image license or usage terms for the AI-generated image?
Common Mistakes and How to Avoid Them
- Overly long prompts: Keep prompts focused. Break complex ideas into parts and iterate.
- Poor contrast: Test readability at small sizes and on multiple backgrounds.
- Ignoring licensing: Always check terms — don’t assume AI images are free for any use.
- Too many fonts or effects: Stick to 1–2 fonts and simple hierarchy (title, subtitle, details).
- Skipping a review: Ask someone else or use a checklist to catch obvious issues.
Review Checklist (Quick Table)
| Item | Yes / No | Notes |
|---|---|---|
| Title readable at thumbnail | ||
| Primary message clear (3-second test) | ||
| Contrast between text and background | ||
| All required details included | ||
| Image/license checked | ||
| Exported correct size/file type |
Use this table when reviewing any draft; fill the Yes/No column and add short notes.
Practical Tips for Prompt Improvement
- Be specific about style, mood, and copy space: “minimal copy space on the right” is better than “leave space”.
- Use constraint language to remove unwanted elements: “no text in image” or “no busy background”.
- Iterate with small changes. Save each prompt version so you can compare outputs.
- If the AI gives inconsistent logos or brand items, use your real logo as an uploaded asset in the design stage, not as a prompt request.
Next Practice & Roadmap
After finishing one poster, try these next steps:
- Create a 3-size set: story, post, and print. This teaches resizing and focal adjustments.
- Practice A/B poster variations with different CTAs or color accents.
- Learn prompt techniques in depth: see How to Write AI Prompts.
- Study poster layout basics and a checklist: Poster Project Brief Design Review Checklist and Poster Design Hierarchy, Contrast, Spacing and Alignment.
Frequently Asked Questions
Can I use AI-generated images for commercial posters?
Check the specific AI tool’s license and terms of service. Some tools allow commercial use, others don’t. When in doubt, use your own assets or a tool that explicitly allows commercial use. Always verify before publishing or selling.
How long should my prompts be?
Short, clear prompts of 15–50 words often work best. Be specific about the visual style, mood, and any copy space needs. Use iterations to refine instead of very long single prompts.
What if the AI generates a wrong or biased image?
Review outputs critically. If you see bias, remove or correct it via prompt constraints (e.g., “no stereotypes”) or generate alternate images. Use human review before publishing.
How do I make text readable over an AI image?
Create dedicated copy space in the image via prompts (e.g., “empty right side”) or add a semi-opaque overlay behind text in your design tool. Test readability at small sizes.
Should I show drafts to others?
Yes — get feedback from peers, instructors, or target audience members. A fresh pair of eyes often catches clarity and visual hierarchy problems.
How do I manage versions and credits?
Keep a simple version log with prompt text, tool used, date, and notes. If required, record the AI tool as a creation aid and keep assets and licenses organized.
What are safe practices for student creators using AI?
Respect age and account rules for tools, don’t try to bypass identity checks, and follow privacy and copyright guidelines. Verify facts the AI suggests and avoid using AI to create misleading or harmful content.
Conclusion
An AI poster project is a great way to learn prompting, visual composition, and iterative design. Start small: plan clearly, create with focused prompts, review with a checklist, and iterate only a few changes at a time. Save prompts and versions so you can learn from each attempt.
Next skill to learn: practice writing better prompts and learn about layout basics—try our guide on How to Write AI Prompts and the poster design fundamentals linked above.
Related resources: Aspect Ratio and File Format, How to Choose a Design Tool.
Learn it by building something
Use the guide as a learning checklist, build a small version yourself, test it, explain what you learned and then improve the project.
How this guide was prepared
This guide is prepared for everyday readers using practical research, usability checks and editorial review. Product or tool-specific claims should be verified against current official documentation when needed.
How did you like this article?
Your feedback helps us make our guides more useful.

Join the Discussion
Join the conversation and share a useful tip, question or experience.