
Quick Start
What you will learn/build: A clear step-by-step beginner roadmap to create a tiny playable 2D game level: basic art assets, gameplay logic design, simple code, and structured testing.
Skill level: Beginner (no prior game dev required). Good for students and adult beginners.
Time needed: 4–10 hours total (split across learning, building and testing). Shorter if you follow the mini-project only.
What you need: A laptop (Windows/Mac/Linux), a free code editor (VS Code), a simple image editor (free like Krita or Photopea), a modern browser, and curiosity. Optional: free game engine like Godot or basic HTML5/JavaScript.
Why follow a focused roadmap?
Game development blends art, design and programming. Beginners often jump into coding or tool tutorials without a sequence. This roadmap gives you a practical path: plan gameplay first, make simple assets, code an MVP, and test. It keeps learning project-first so you actually finish something playable.
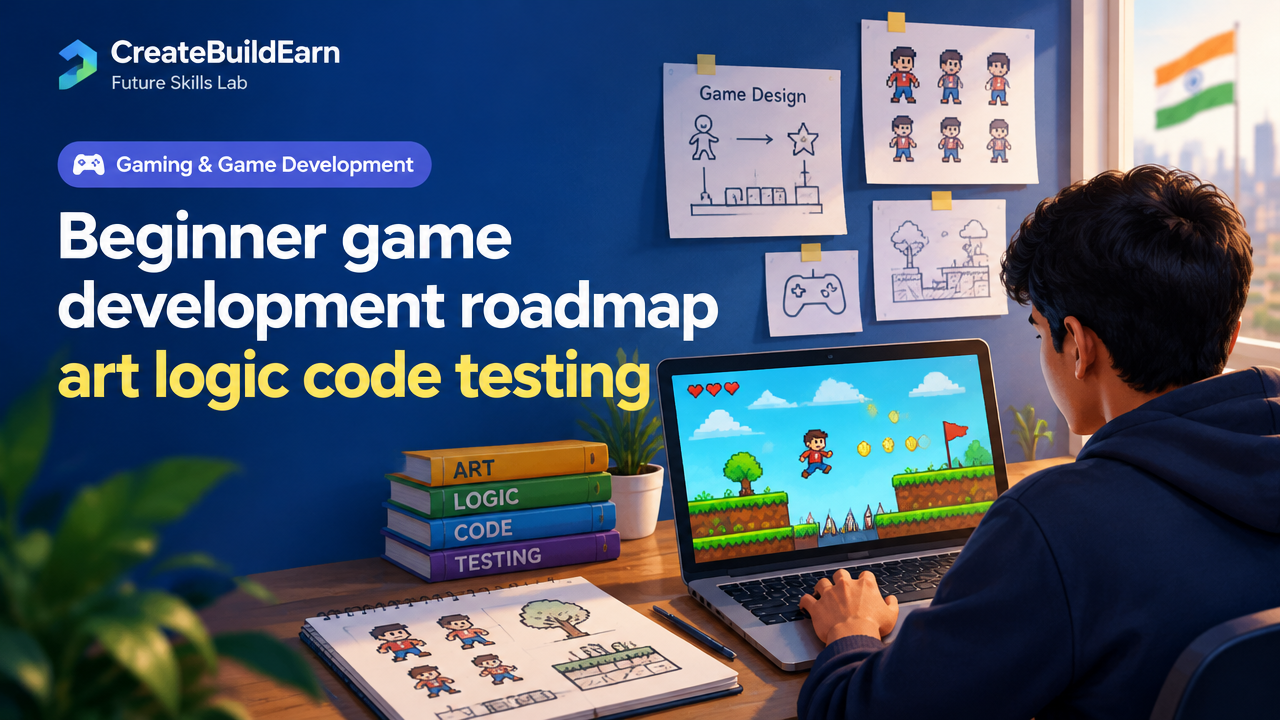
Core concepts in four words: Art, Logic, Code, Testing
Keep these four pillars in mind as you learn:
- Art — Visual assets that communicate characters, environment and UI.
- Logic — Game rules, player actions, difficulty and feedback loops.
- Code — Implementation: writing the code that turns design into behavior.
- Testing — Playtesting, bug-finding and balancing rewards and challenge.
Prerequisites
- Basic computer literacy (installing apps, saving files).
- Familiarity with using a web browser and file folders.
- Willingness to try small design sketches and write a few lines of code.
Step-by-step beginner path (practical)
- Pick a tiny game idea: e.g., a one-screen runner where the player dodges obstacles and collects points.
- Design gameplay logic on paper: Define player controls, win/lose conditions, scoring and difficulty curve.
- Create simple art: Use 32×32 or 64×64 pixel sprites or flat shapes for characters and obstacles. Keep it readable.
- Choose a tech stack: Start with HTML5 + JavaScript for quick feedback, or Godot for a game-engine approach. For learning code, HTML5 is lightweight and runs in the browser.
- Implement core mechanics first: Movement, collision detection, scoring. Skip menus and polish until the core works.
- Playtest and iterate: Test for 5–10 minute sessions, note bugs, adjust timing and difficulty.
- Polish and package: Add simple sound effects, UI text for score/health, and a restart button. Export for sharing.
Tools and skills checklist
| Skill / Tool | Why it matters | Beginner target |
|---|---|---|
| Basic drawing (pixel or vector) | Create readable player and obstacles | 1–3 sprites at 32–64px |
| Gameplay design | Clear rules stop scope creep | One page spec: controls, score, win/lose |
| JavaScript or Godot GDScript | Implement movement & collisions | Move, jump (or dodge), detect collision |
| Simple testing | Find bugs and balance difficulty | 3 playtest rounds, record fixes |
Worked example: Simple JavaScript movement and collision (learning example)
Below is a minimal HTML5 canvas example showing a player that moves horizontally and checks for simple rectangle collision with an obstacle. This is a learning example you can paste into a file named index.html and open in your browser.
<!-- learning example: simple 2D movement & collision -->
<!doctype html>
<html>
<body>
<canvas id="game" width="480" height="320">
<script>
const canvas = document.getElementById('game');
const ctx = canvas.getContext('2d');
let player = {x:20, y:140, w:30, h:30, speed:3};
let obstacle = {x:260, y:140, w:40, h:40};
let left=false, right=false;

window.addEventListener('keydown', e => { if(e.key==='ArrowLeft') left=true; if(e.key==='ArrowRight') right=true; });
window.addEventListener('keyup', e => { if(e.key==='ArrowLeft') left=false; if(e.key==='ArrowRight') right=false; });

function rectsOverlap(a,b){
  return a.x < b.x + b.w && a.x + a.w > b.x && a.y < b.y + b.h && a.y + a.h > b.y;
}

function update(){
  if(left) player.x -= player.speed;
  if(right) player.x += player.speed;
  player.x = Math.max(0, Math.min(canvas.width - player.w, player.x));

  if(rectsOverlap(player, obstacle)){
    // simple collision response: stop movement and mark hit
    player.x = 20; // reset as a visible response
    console.log('Hit!');
  }
}

function draw(){
  ctx.clearRect(0,0,canvas.width,canvas.height);
  ctx.fillStyle = 'blue'; ctx.fillRect(player.x, player.y, player.w, player.h);
  ctx.fillStyle = 'red'; ctx.fillRect(obstacle.x, obstacle.y, obstacle.w, obstacle.h);
}

function loop(){ update(); draw(); requestAnimationFrame(loop); }
loop();
</script>
</body>
</html>
This example shows basic movement and collision detection. Expand it by adding scoring when the player passes the obstacle, or multiple obstacles with a spawn timer.
Try It Now / Mini Project
Mini-project: Build a one-screen runner level
- Design: On paper, write the controls (left/right/jump or dodge), one win condition (reach the end or collect 3 tokens), and one lose condition (hit an obstacle).
- Art: Create three 64×64 images: player, obstacle, token. Keep palettes simple (2–4 colors).
- Code: Use the learning example above. Add token collection logic and a score counter shown on the canvas.
- Test: Play 5 sessions, note one bug and one balance change (e.g., speed or token spacing) and fix it.
Estimate: 2–5 hours. Deliverable: a playable HTML file that can be shared locally or uploaded to a static site.
Checkpoint: self-review
Ask yourself these after finishing your mini-project:
- Does the core mechanic work reliably (movement + collision)?
- Can someone else understand rules in 30 seconds of play?
- Did you fix at least one bug and adjust one balance parameter?
- Do assets look clear at actual game size?
Common beginner mistakes and how to avoid them
- Scope too large: Start tiny. Build a single level before adding menus or levels.
- Polish before core: Avoid spending hours on art or sound before mechanics work.
- Ignoring playtesting: Play early and often; share with a friend and note where they get confused.
- Overcomplicated collision: Use rectangle checks first; introduce more precise collision when needed.
Review checklist before calling the project done
| Item | Yes/No |
|---|---|
| Core mechanic implemented and playable | |
| At least one test play and one fix | |
| Basic UI shows score and restart | |
| Assets are readable at game size | |
| Project files saved and organized |
Next practice roadmap (what to learn next)
- Make levels: learn simple level design and tile placement.
- Improve art: try animation frames or basic sprite sheets.
- Refine logic: add power-ups, timers and simple AI obstacles.
- Learn a game engine: try Godot for scene and node-based workflows.
- Share and gather feedback: publish a web demo or record a short gameplay clip for review.
Related internal learning paths (choose one)
- Javascript Variables Conditions Functions Mini Interactive Project — Build a Guessing Game — good for strengthening basic JS skills used here.
- Game Design Difficulty Feedback Rewards Fairness: Basics for Beginner Designers — helps with balancing and feedback systems.
- Beginner Portfolio Before Client Work: Build a Strong Self-Initiated Project Portfolio — turn your mini-project into a portfolio piece.
- 4 Week Digital Creator Beginner Learning Path: Learn, Create, Grow — a broader path that includes creation and sharing steps.
Frequently Asked Questions
Do I need to be good at art to start making games?
No. Start with very simple shapes or free assets. Focus on readable designs and gameplay. Learning basic pixel art or vector shapes is enough to create prototypes.
Which is easier for beginners: HTML5 or a game engine?
Both work. HTML5 + JavaScript is great for learning code and fast sharing. Engines like Godot provide built-in tools (scene system, physics) that speed up more complex projects. Try the approach that keeps you building.
How do I test my game with others safely?
Share local files via a trusted file share or host a static demo on a personal site. For minors, ask a parent or teacher before sharing online. Avoid sharing personal info. Ask testers to focus on understanding, bugs and enjoyment.
What if my game feels too hard or too easy?
Adjust simple parameters: player speed, obstacle spacing, spawn rate, or token count. Change one variable at a time and re-test to see the effect.
Can I use AI tools to help with art or code?
Yes, but use AI responsibly: verify outputs, check for license or usage restrictions of AI-generated assets, and avoid passing AI work as entirely your own without disclosure. Use AI to speed tasks, not replace learning. Follow privacy and verification best practices.
How long before I can make a larger game?
There is no fixed time. After several small projects and iterative learning (art, logic, code, testing), you can expand scope. Use each mini-project to learn one new system (e.g., enemy AI, save/load).
Where can I get free assets to prototype quickly?
There are free asset libraries online. Always check the license and attribution requirements. For learning, create simple placeholder art to avoid licensing issues.
Conclusion and next skill to learn
Follow this roadmap by designing first, making simple assets, coding the core mechanics, and testing. Finish the mini-project to build confidence. Next, learn level design and basic animations to make your game feel more complete. Keep projects small and use playtesting to guide improvements — that habit is the fastest path to better games.
Good luck — build something small today, iterate, and keep learning.
Learn it by building something
Use the guide as a learning checklist, build a small version yourself, test it, explain what you learned and then improve the project.
How this guide was prepared
This guide is prepared for everyday readers using practical research, usability checks and editorial review. Product or tool-specific claims should be verified against current official documentation when needed.
How did you like this article?
Your feedback helps us make our guides more useful.

Join the Discussion
Join the conversation and share a useful tip, question or experience.